Statistical Computing Setup
To process the data, we will use several libraries in Python or R. To interface with these programs dynamically, for pedagogical purposes, we will leverage Jupyter Notebooks. Finally, to manage the dependencies between Jupyter, Python, R, and the various packages, we will use Anaconda.
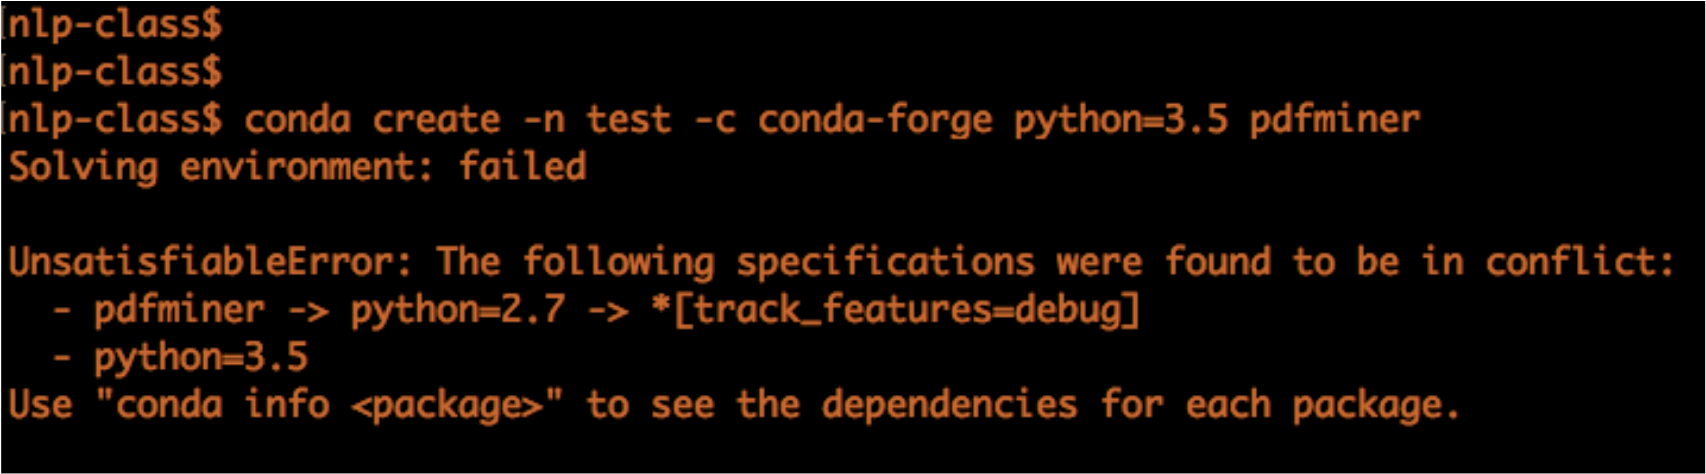
If our setup has potential conflicts, Anaconda will save us before it’s too late!
Overall, installing conda will automatically install Python so there are only 2 steps:
Installing Anaconda
There are two methods to do this depending on if you’re comfortable with the command line:
- Not sure: then just install Anaconda Navigator
- Yes, then jump ahead to installing conda
Anaconda GUI via Anaconda Navigator
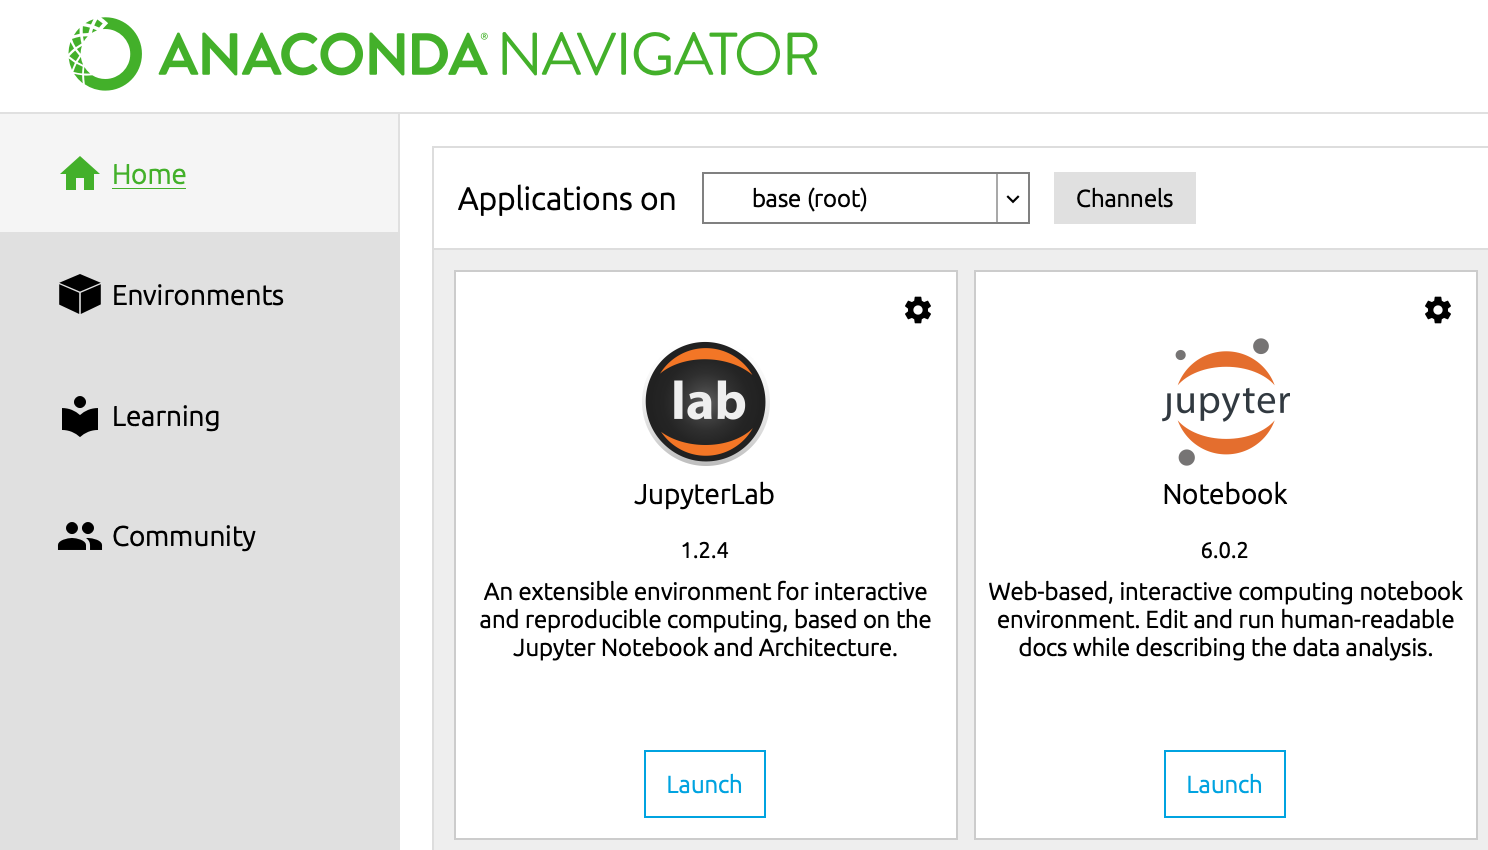
- Please get Anaconda Navigator which is a nice GUI
- Launch Anaconda Navigator
- Go to
Environmentson the left tab - Click on
Createat the bottom to create a separate environment so the materials here will not conflict with your other work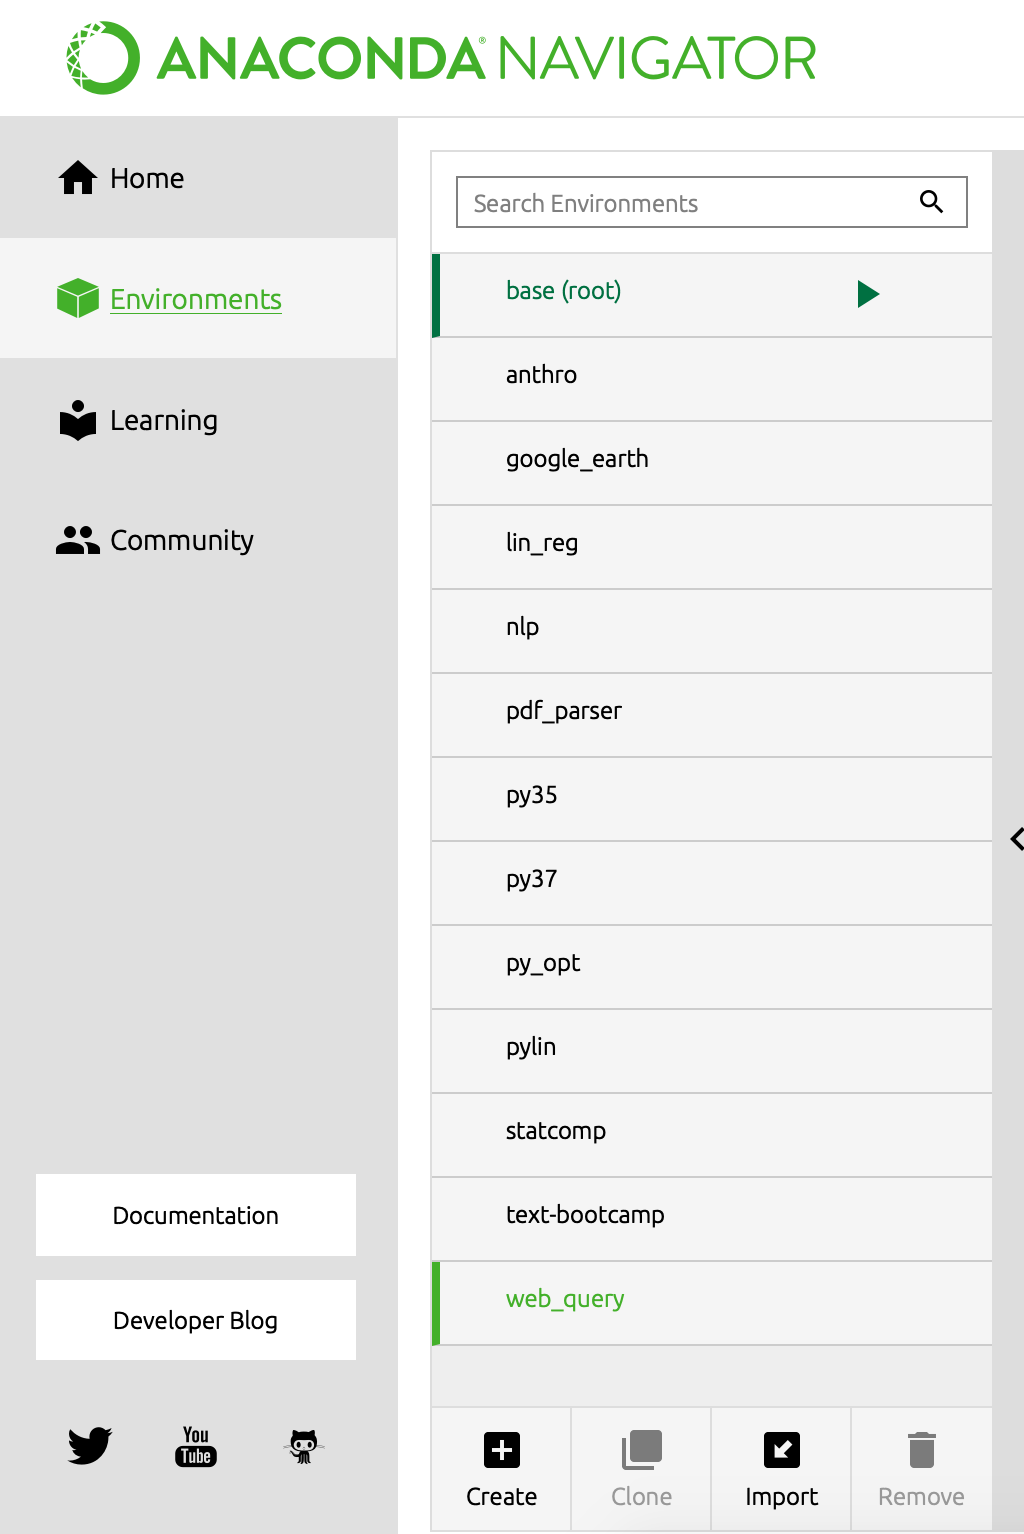
- Create an environment called
text-mine(or whatever you prefer) and use the dropdown menu to run under Python version 3.7, then chooseCreate(yes, even if you want R in the end).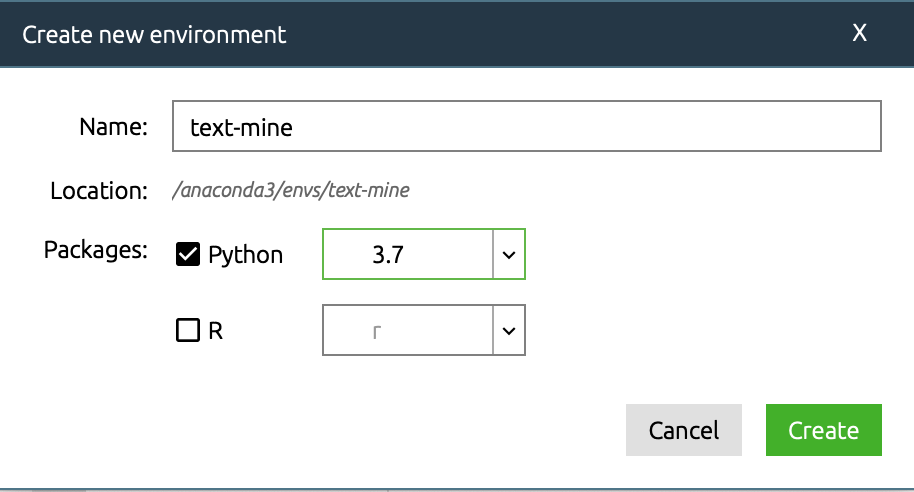
- Please continue to the section on installing packages using Anaconda Navigator
Command line interface with Anaconda via conda
- Please follow these instructions to install miniconda
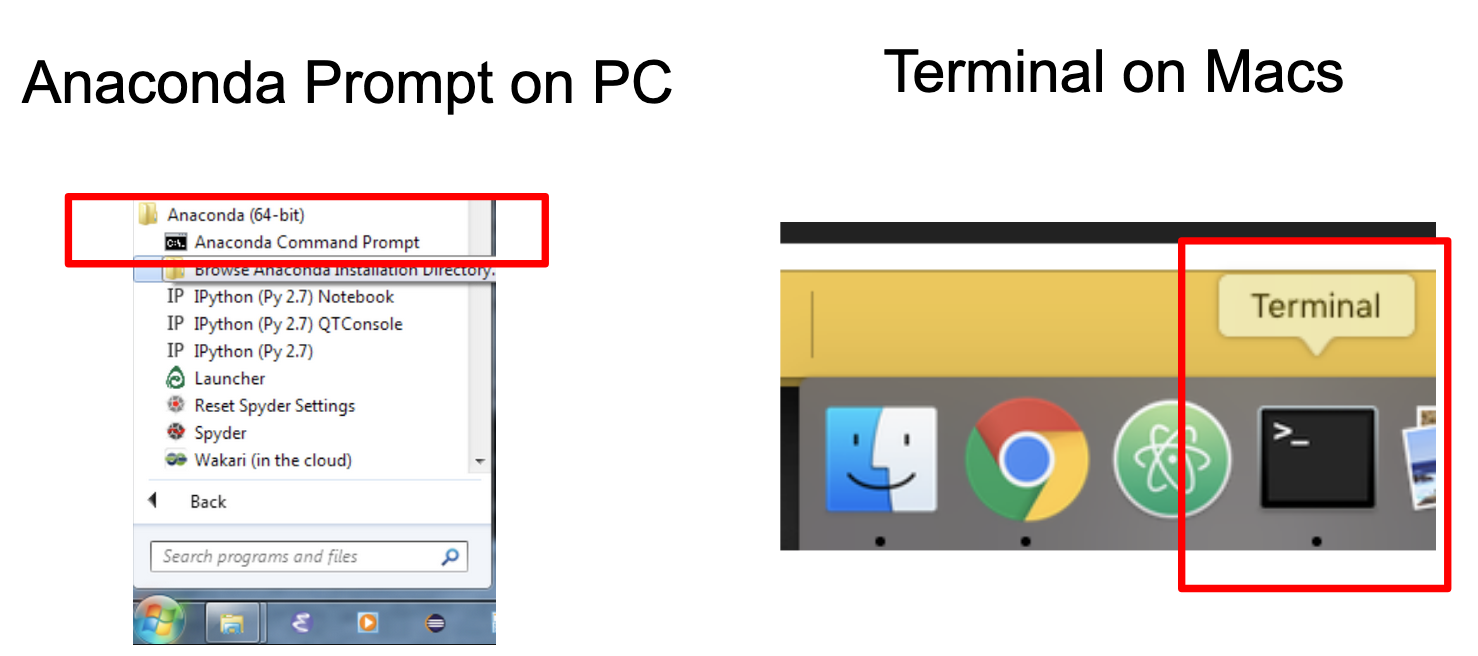
- Launch your command line interface for miniconda:
- on Windows, this is called “Anaconda Command Prompt”
- on OSX, this is called “Terminal”
-
Type in the following to create an environment called
text-mineunder Python version 3 (yes, even if you want R in the end!)conda create -n text-mine python=3You will likely be asked to confirm with the packages it’ll install. Type in
ythen enter to accept. - Type in
conda activate text-mineand notice how your command prompt changes totext-mine. It’s possible that you have an older version ofconda, then you should type insource activate text-mineinstead.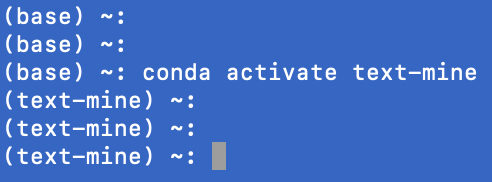
- Please continue to the section on installing packages using conda
Installing Jupyter or R as packages under Conda
A program’ss true value is in its large community of developers and users. To leverage their work, we often will depend on packages outside of the default Python installation. Similar to before, we’ll cover the instructions both using Anaconda Navigator and the command line.
Installing packages using Anaconda Navigator
- Go back to the
Environmenttab on the far left and make sure your desired environment is selected (in this document that’stext-mine).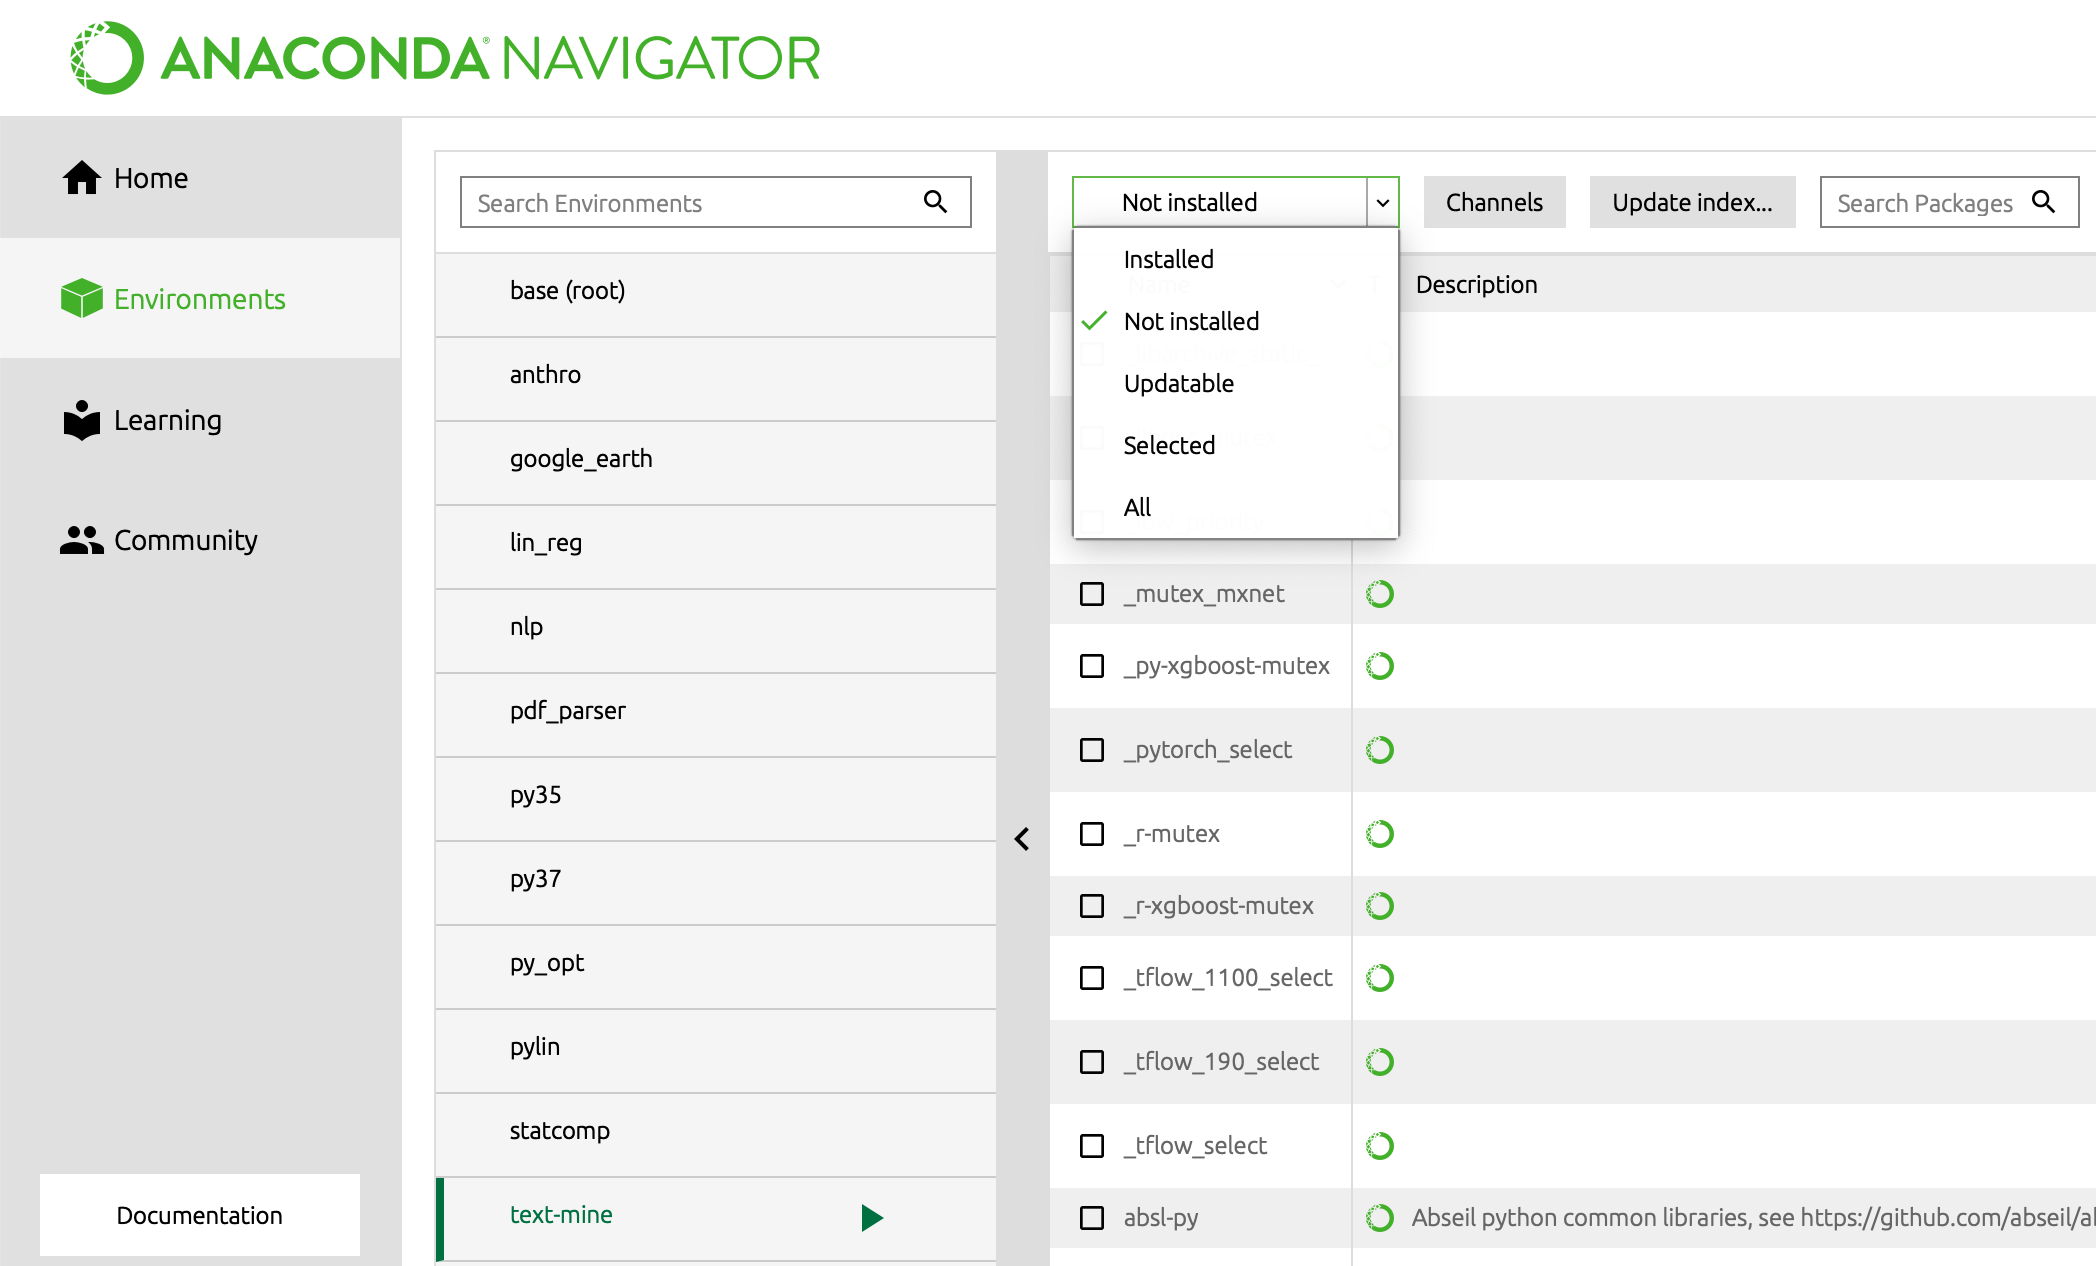
- Use the dropdown menu shown above to examine the packages not installed.
-
Use the search box to find
jupyter. IF you want R, you should look forr-base,r-essentials, andr-irkernelas well. If you are working in Python, you should look forpandas,matplotlib,numpy, andstatsmodels.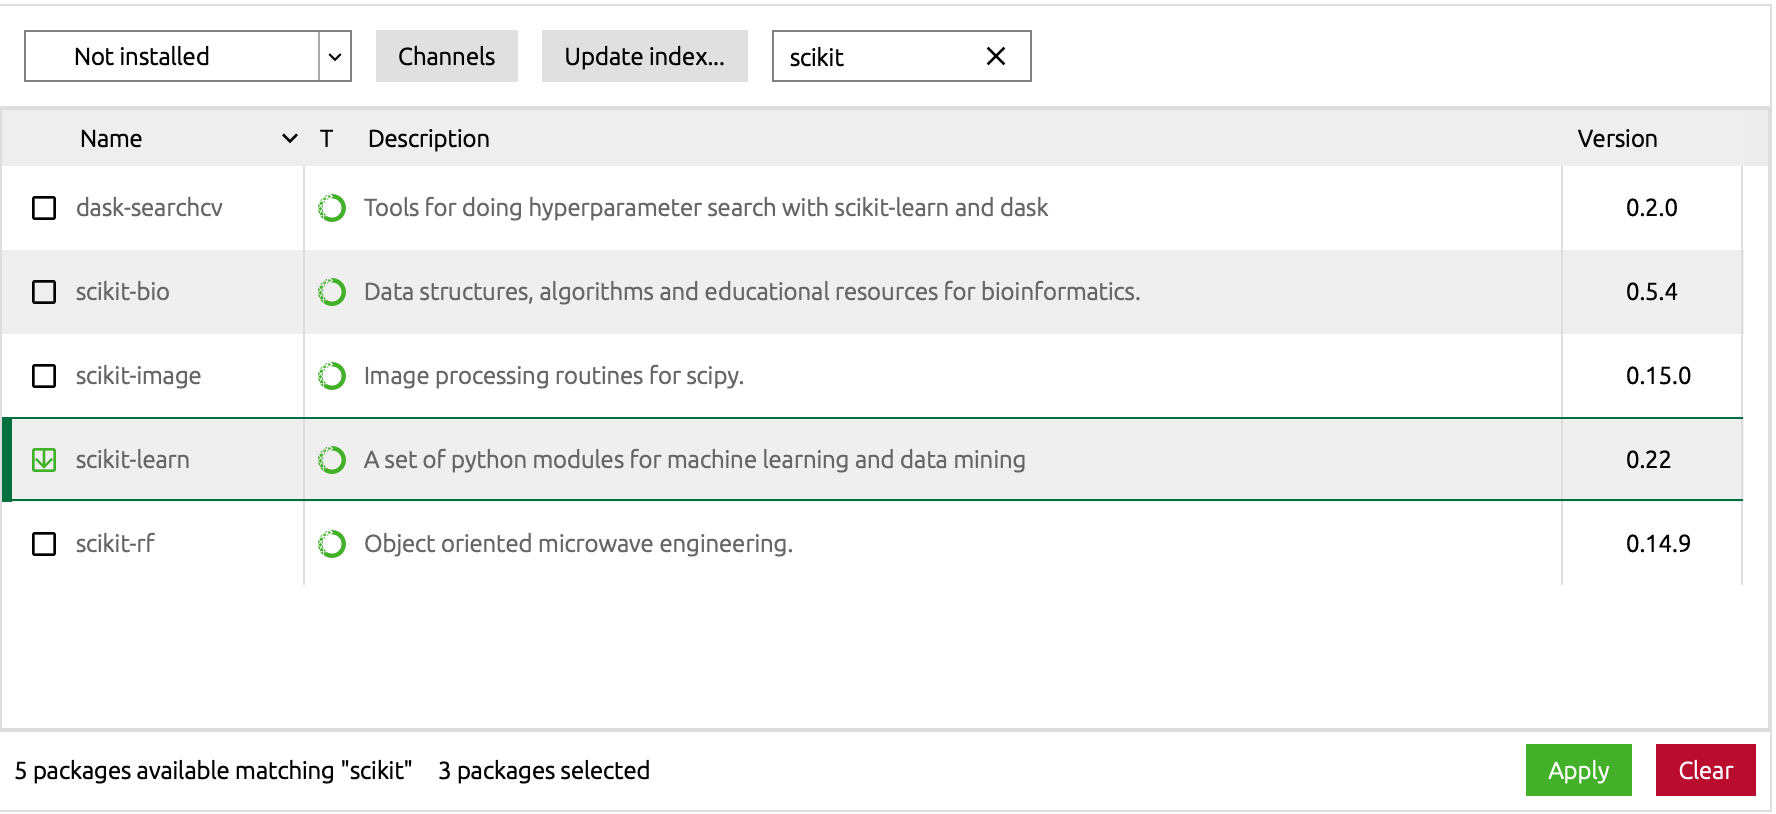
I would make sure all packages you want are selected before moving to the next step. Once the
 appears, you can safely search for the next package. Notice the number of packages selected are indicated at the right bottom of the Navigator Window.
 - (This will take awhile) Click on
Applyon the right bottom and wait for the packages to be installed. Click onApplyonce more to confirm the packages you wanted. - To confirm it all worked, go back to the
Hometab, make sure you use the dropdown menu behind “Applications on” totext-mine(or whatever you called the new environment)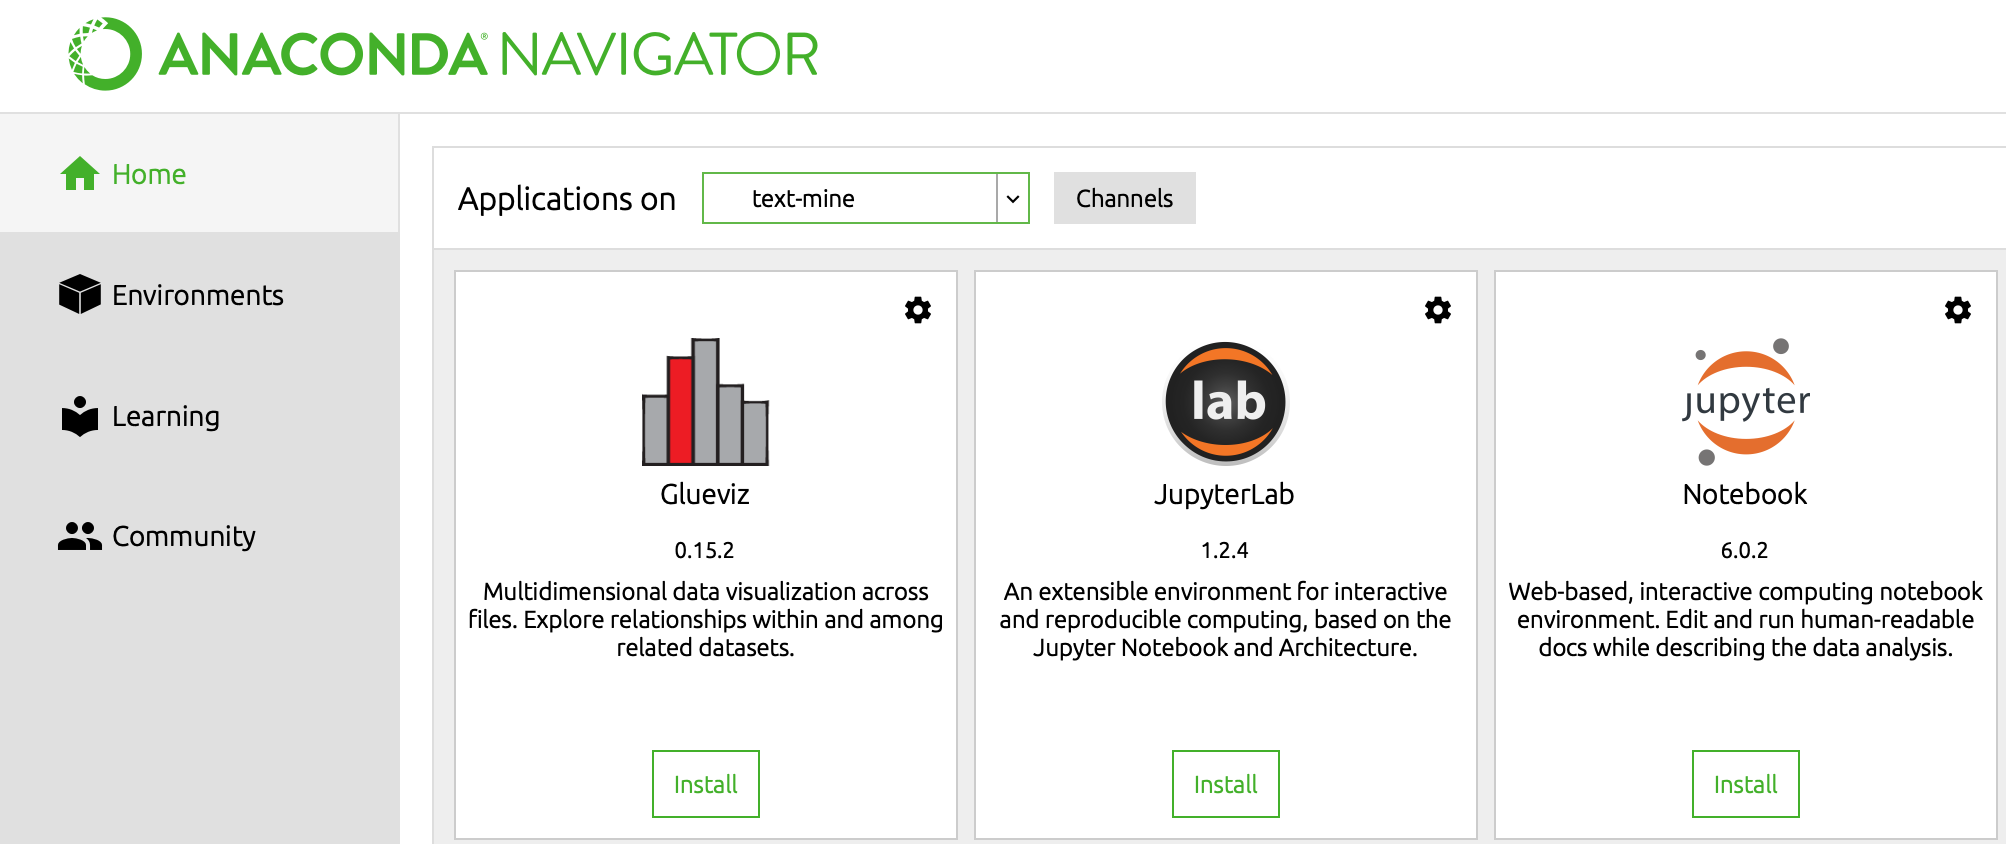
- Select
Launchunder Jupyter. This should launch a few things but ultimately on your default browser, you’ll see a jupyter session.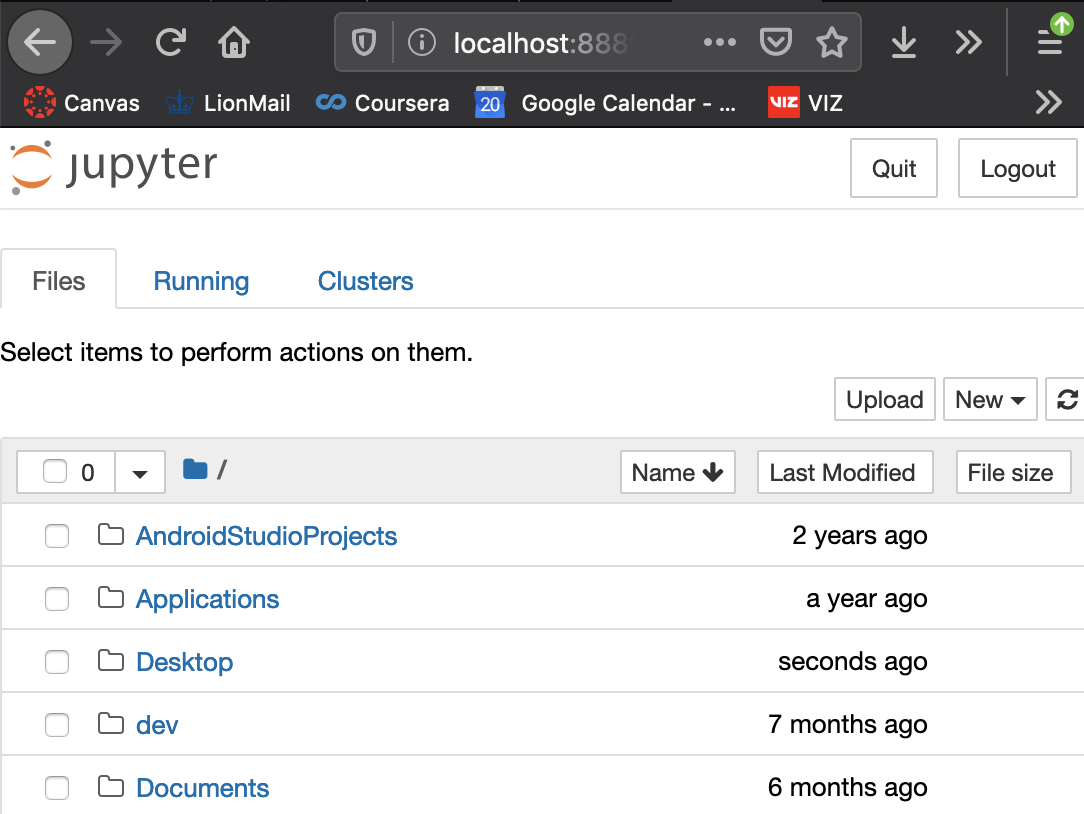
- Click down your file path to where you want your work stored, then click on
Newon the far right to launch aPython 3orRsession. - You should be able to confirm if the installation succeeded by repeating this little example below in your Jupyter Notebook.
- type
1 + 1into one of the “cells”, you should see the solution appear - Use “Shift Enter” or “Command Enter” to run the code
- Or you could use the “Run” button above the cells.
- type
- What happens if
1+1didn’t work?- Instead of going to the
Hometab in step 5, stay in theEnvironmentstab. - Click on the “Play” button in the
text-minetab. ChoosePython 3orRthen repeat the tests in step 7 and 8.
- Instead of going to the
Installing packages using conda
- Make sure your command line prompt activated the environment you created (
text-minein this document). - We will use the
conda installcommand to install packages we need. Specifically, you should type in- If you are getting Python
conda install jupyter numpy matplotlib pandas statsmodels
- If you want
Rthen you should insetad type in:conda install jupyter r-base r-essentials r-irkernel
- If you are getting Python
- To confirm it all worked, navigate to your desired working directory, then type in
jupyter notebookto launch your jupyter session. This should launch a few things but ultimately on your default browser, you’ll see a jupyter session. - Click on
Newon the far right to launch aPython 3orRsession. Now you have a functioning Jupyter notebook session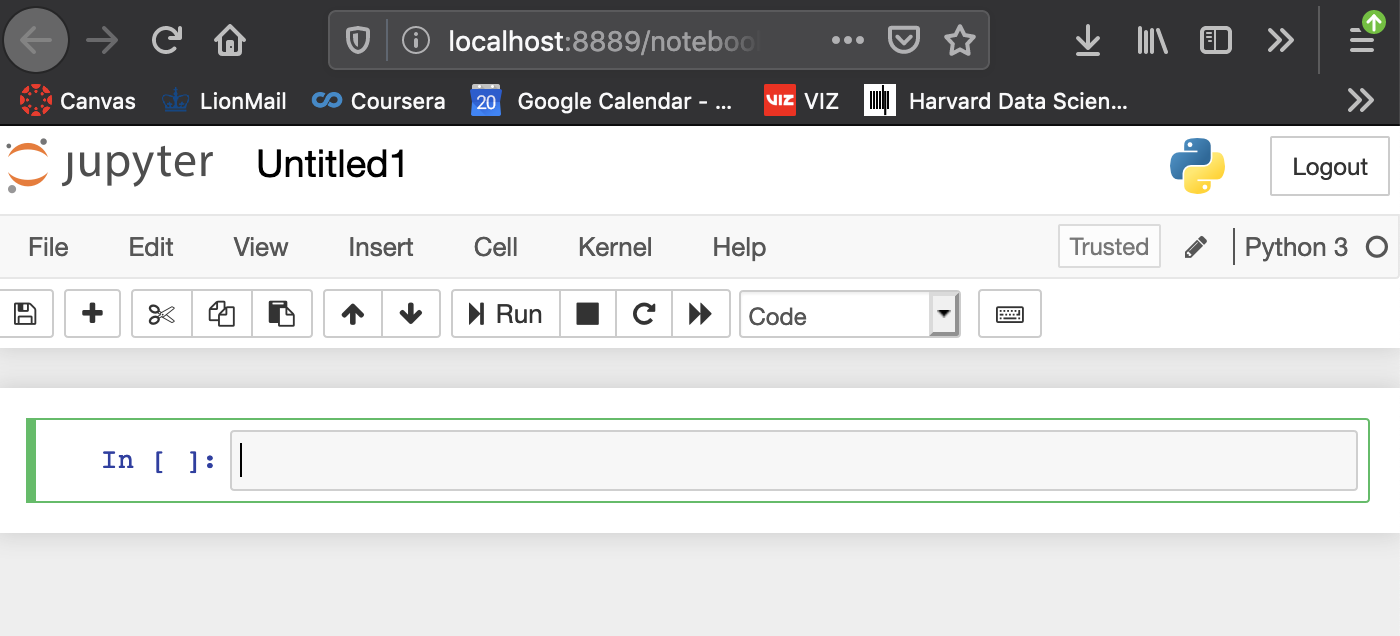
- You should be able to confirm if the installation succeeded by repeating this little example below in your Jupyter Notebook
- type
1 + 1into one of the “cells” - Use “Shift Enter” or “Command Enter” to run the code
- Or you could use the “Run” button above the cells.
- type